A five-wire oxygen sensor is considered a wideband sensor. Traditional oxygen sensors have only one or three wires. The five-wire system allows the sensor to process more information, in turn creating a more accurate measurement for it to send to the engine computer. This allows the computer to more accurately process the exact amount of oxygen that is needed to maintain the air to fuel ratio. It's important to learn the proper way to test a five-wire oxygen sensor, as the voltage is a bit different than traditional sensors.
- A five-wire oxygen sensor is considered a wideband sensor.
- The five-wire system allows the sensor to process more information, in turn creating a more accurate measurement for it to send to the engine computer.
Drive the vehicle for ten minutes; this will allow the sensor to warm up to normal operating temperature. This is ideal for oxygen sensor testing and maintenance.
Open the bonnet of the vehicle and locate the O2 sensor. The sensor is found mounted on the exhaust manifold. Refer to your repair manual, as location can vary slightly from manufacturer.
Disconnect the wire harness from the oxygen sensor; depress the two side tabs, if present, and pull the harness straight out of the sensor.
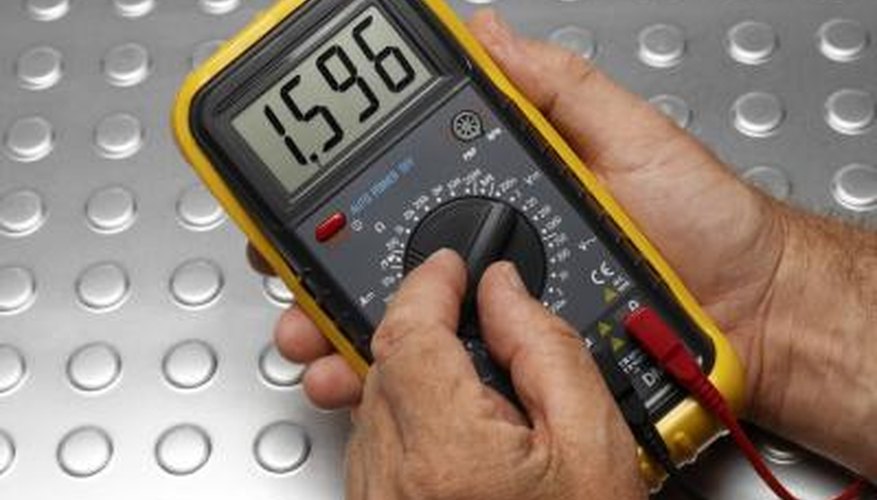
Turn the multimeter to the minivolts, or "MV," setting. Connect the positive red multimeter lead to the signal wire on the O2 sensor. On a 5-wire oxygen sensor the signal wire is the middle wire. Connect the negative black lead to a grounded point.
- Open the bonnet of the vehicle and locate the O2 sensor.
- On a 5-wire oxygen sensor the signal wire is the middle wire.
Start the engine and allow the sensor to work for one minute. Monitor the multimeter; you should notice the voltage jumping back and forth from high to low in the .1 to .9 minivolts. If the multimeter fails to register or does not jump; the sensor has no voltage and should be replaced.