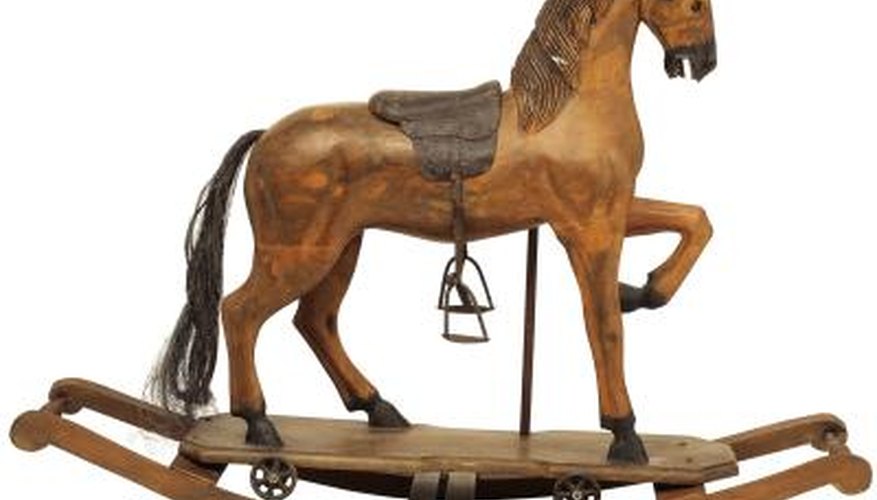
Rocking horses first became popular in Victorian times, partly as toys and partly to help young children practice balance before moving on to real horses. Modern rocking horses come in all shapes and sizes, and are made from a range of materials including wood and fabric-covered metal frames. If you have an antique rocking horse, the tail should be replaced with genuine horse hair, available online. Real horsehair tails have a strip of hide attached for ease of handling. For a replacement tail for a modern horse, you could use synthetic hair, wool or even lengths of ribbon or braid. In all cases, using a piece of dowelling to support the tail will make it hang better.
Horsehair
Examine the rocking horse, and check for the hole where the old tail was fastened. Make sure the hole is free from debris; if necessary, run some sandpaper around the inside of the hole to remove any old glue.
Fit the dowelling into the hole and, if necessary, trim the end so that it fits snugly. Remove it again and cover with fabric glue.
Wrap the hide strip firmly around the dowel, leaving the top 2.5 cm (1 inch) clear. Leave it to dry, then spread the end of the dowel with wood glue and hammer gently into the hole in the horse.
Trim the end of the tail. Lift the tail by placing the flat of your hand under it and pulling it towards you, then trim the hairs as they hang.
- Examine the rocking horse, and check for the hole where the old tail was fastened.
- Lift the tail by placing the flat of your hand under it and pulling it towards you, then trim the hairs as they hang.
Synthetic hair
Prepare the horse to receive its new tail, and trim the dowel to fit. Gather the synthetic hair into a bundle and wrap thread tightly around one end.
Trim the hair off just above the thread to give you a flat end. Seal this end with a lit match, taking care not to breathe in the fumes. This will weld the hair together and prevent it slipping whilst you work with it.
Push the tapered end of the dowel through the middle of the bundle, working it carefully through the sealed end. You may have to make a nick in the seal with scissors to get the dowel through. Hold the end of the dowel in one hand and use the other hand to brush all the hair the wrong way to expose the dowel, so that your hands meet.
Spread glue thinly over the exposed end of the dowel, then carefully smooth the hair back in the right direction. Only the hairs next to the dowel will stick, the remaining hair should fall downwards giving a more realistic look.
Spread glue over the exposed end of the dowel and hammer gently into the hole. When dry, trim the bottom of the tail to the required length. Synthetic tails look more realistic cut to a slanted point rather than completely flat.
- Prepare the horse to receive its new tail, and trim the dowel to fit.
- Spread glue over the exposed end of the dowel and hammer gently into the hole.
WARNING
Use only a thin layer of glue to secure a synthetic tail, otherwise the hair will not hang properly.