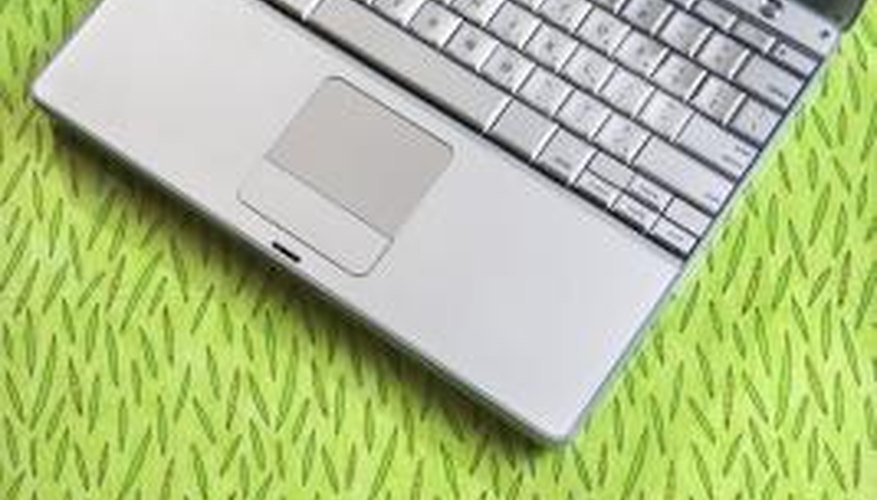
The laptop touchpad enables laptop users to eliminate the use of a mouse. The touchpad uses a durable coating to fight wear and tear. However, even the strongest coatings will degrade over time. Professional computer repair technicians can replace this coating, but the cost will be considerable. Use the same professional techniques to repair a damaged touchpad coating at a fraction of the cost of a professional repair.
- The laptop touchpad enables laptop users to eliminate the use of a mouse.
Check the touchpad's "Properties" settings. If the touchpad is not functioning correctly, the problem may be in the touchpad's program settings rather than the physical condition of the pad itself. Open the "Control Panel," which is accessed through the computer's "Start" menu. Under the heading of "Devices and Printers," click on the "Mouse." button. A window pops up allowing access to the touchpad's settings. Click on the tab labelled "Device Settings." Make sure the touchpad is enabled. If the touchpad is disabled, click on the "Enable" button. Restore all factory default settings within the "Properties." window. Close the window.
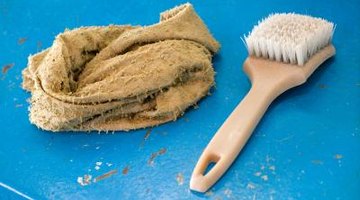
Saturate the touchpad's coating with a citrus-based cleaner. Apply the cleaner liberally to a clean cotton rag. Work the cleaner into the surface of the touchpad until the touchpad's coating is fully saturated. Allow the cleaner to remain on the touchpad's surface for at least five minutes. This allows the cleaner to soak into the touchpad's surface and loosens the bond between the laptop's case and the coating. Add additional cleaner to the touchpad if necessary.
- Saturate the touchpad's coating with a citrus-based cleaner.
- Work the cleaner into the surface of the touchpad until the touchpad's coating is fully saturated.

Scrape the worn coating off using a flexible plastic putty knife with a 1-inch blade. Hold the putty knife at a 10- to 20-degree angle and push the blade away from the laptop's keys to avoid damaging them. Add additional citrus-based cleaner to loosen the coating, if necessary.
Prepare the touchpad for its new vinyl coating. After the old coating has been scraped off, clean the surface of any residual debris using a new cotton rag lightly sprayed with citrus-based cleaner. After wiping the surface down with the lightly sprayed rag, switch to a clean, dry rag. Rub the clean rag across the affected surface to pull up any remaining debris. Allow the surface to dry for at least 2 hours.
Mount the new vinyl touchpad. Cut a rectangle out of self-adhesive vinyl the same size as the original touchpad using a small utility knife and metal straightedge. Mix 3 teaspoons of liquid dishwashing detergent to 473ml of hot water. Using a clean rag, apply a small amount of the soapy liquid to the touchpad's location. This allows the vinyl to be positioned correctly prior to permanently mounting it to the casing. Peel off the paper backing from the vinyl. Position the vinyl on the old touchpad's location. Use the plastic putty knife to squeeze out any air bubbles from the mounted vinyl and permanently adhere it to the case's surface.
- Prepare the touchpad for its new vinyl coating.
- Use the plastic putty knife to squeeze out any air bubbles from the mounted vinyl and permanently adhere it to the case's surface.
TIP
Use vinyl designed for exterior lettering because it is the most durable self-adhesive vinyl made. Only use citrus-based cleaners. They will not damage plastic or metal casings. Citrus-based cleaners cut through most adhesives and rubber-based coatings. Try cleaning the touchpad prior to replacing it. Grease from human skin will create a slick layer that causes the touchpad to malfunction.