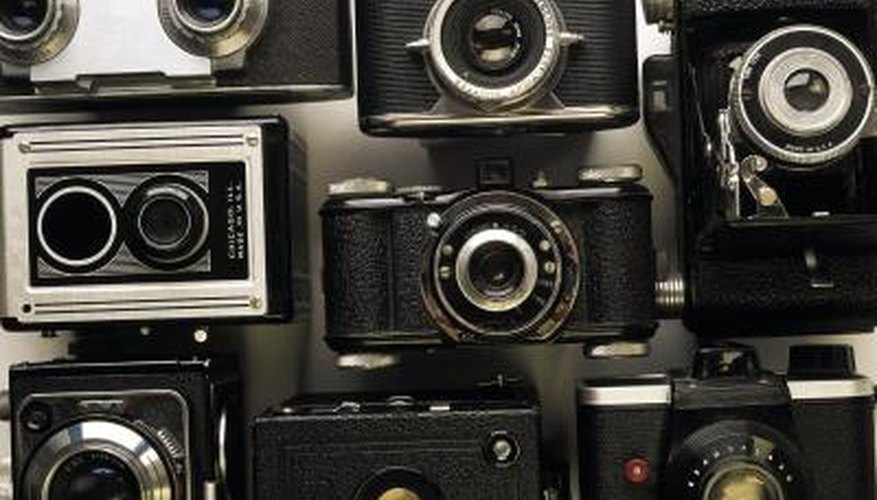
The Praktica camera line was launched by the German company Pentacon in 1959. Prakticas are renowned by classic camera enthusiasts for their sturdiness and durability. Most of the cameras were fully mechanical and required only a small battery, usually a mercury PX625 cell, to power a built-in light meter. While the major internal mechanisms of a Praktica have been known to function for decades without adjustment, eroding light seals and other small repairs should be performed prior to serious use.
- The Praktica camera line was launched by the German company Pentacon in 1959.
- Most of the cameras were fully mechanical and required only a small battery, usually a mercury PX625 cell, to power a built-in light meter.
Insert the edge of a small coin into the clotted battery compartment cover on the underside of the camera body. Turn clockwise to loosen and remove the cover. Clean away erosion from the battery chamber and cover with an eraser.
Place a fresh replacement battery into the chamber and screw on the cover. Replacement PX625 batteries can be found at your local electronics retailer or photography store. If you do not know which type of battery your Praktica uses, refer to the link in the Resources section.
Loosen a stiff focus ring by placing the camera on a sunny window sill for several days. Rotate the ring back and forth to redistribute the lubricant.
Press the lens release tab near the mount thread on the camera body, and rotate the lens clockwise to remove it. If your camera uses an M42 screw-on mount thread, simply rotate the lens counterclockwise to remove it.
- Place a fresh replacement battery into the chamber and screw on the cover.
- Press the lens release tab near the mount thread on the camera body, and rotate the lens clockwise to remove it.
Blow away dust or dirt from the rear and front elements of your lens. Dampen a lens tissue with a small amount of lens cleaning solution and swab both elements using a circular motion.
- Blow away dust or dirt from the rear and front elements of your lens.
- Dampen a lens tissue with a small amount of lens cleaning solution and swab both elements using a circular motion.
Alternate between firing the shutter and pushing the film advance lever forward. This exercises the camera's internal mechanisms and redistributes dried lubricant.
Dampen a soft cloth lightly with warm water and give the camera body a cosmetic cleaning. Wipe the top and bottom panels, the leatherette cover and the viewfinder area. Use cotton swabs to clean between nooks and crannies on the top panel.
Remove the mirror damper pad with tweezers. This pad acts as a buffer for the retractable internal mirror and is located next to the milky-white focusing screen on the inside of the camera. Ensure that the pad does not crumble and fall onto the focusing screen.
Cut a small strip of adhesive foam, roughly 40 millimetres in length and three millimetres in width. Peel the paper backing off and position the foam in place of the old damper pad using tweezers. For easier placement, lick the adhesive after removing the paper backing. Hold the pad in place for several minutes.
- Remove the mirror damper pad with tweezers.
- For easier placement, lick the adhesive after removing the paper backing.
Open the camera back and locate the grooves that allow the film door to close. Remove old, crumbling light seals from these grooves by scraping them out gently with a toothpick.
Cut two lengths of thin black yarn which are approximately the same length as the grooves. Wedge the yarn into the grooves using a clean toothpick.
Close the film door and ensure that it closes all the way. No adhesive is required when installing the yarn since pressure from the film door will keep it in place.
TIP
Bring your camera to a professional repairman if you think something is wrong with your shutter, film advance lever or other internal mechanism.