An alternative to the common deadbolt lock is the “nightlatch” type of door lock for interior or exterior light-duty doors, equipped with a lever-latch interior operator and a keyed exterior lock cylinder. One of the more durable and attractive nightlatch locks is the Yale PBS1, available for all standard door thicknesses, and designed for ease of installation with the basic procedure applicable to any door size or jamb type.
Mark the lock centre line on the door’s front edge. This height is typically 36 to 42 inches from the floor surface or 12 to 16 inches above an existing door knob.
Select the template labelled “Cylinder Pull” provided and align the designated interior side of the template with the lock centre line marked on the door edge, then use a centre punch or awl to mark the three hole centre points noted on the template.
Align the designated interior side of the “Cylinder Pull” template with the lock centre line marked on the door edge, then mark the single 1 1/4 inch (32mm) diameter hole centre.
- An alternative to the common deadbolt lock is the “nightlatch” type of door lock for interior or exterior light-duty doors, equipped with a lever-latch interior operator and a keyed exterior lock cylinder.
- Align the designated interior side of the “Cylinder Pull” template with the lock centre line marked on the door edge, then mark the single 1 1/4 inch (32mm) diameter hole centre.
Mark the boring depth on the 1/2-inch drill bit at 5/8 inch from the tip with a piece of masking tape as a depth gauge, then bore the two 1/2 inch (13mm) diameter holes designated by the “Cylinder Pull” template, into the outer door surface using an power drill, making them each 5/8-inch deep.
Bore the 1 1/4 inch (32mm) diameter hole, designated by the cylinder pull template, horizontally through the door at its centre line using a power drill. Chipping of the door’s surface veneer can be minimised by drilling the hole from both sides to the midpoint of the door.
- Bore the 1 1/4 inch (32mm) diameter hole, designated by the cylinder pull template, horizontally through the door at its centre line using a power drill.
Bore a 1/2 inch (13mm) diameter hole into the inside face of the door to a depth of 3/16 inch (5mm) at each of the other two interior centre points.
Bore a 5/16 inch (8mm) diameter hole through each of the centres of the two holes previously designated by the “Cylinder Pull” template, and complete the cylinder mounting holes for the PBS1 lock.
Overlay the template labelled “Mounting Plate” on the interior side of the 1 1/4 inch (32mm) diameter hole. Use a centre punch or awl to mark the centres of the three mounting plate screw holes noted on the template and scribe the door-edge recess outline using a utility knife.
Bore three 1/8 inch (3mm) diameter holes at each of the centre points marked by the awl, making the holes 1 1/4 inches (32mm) deep. Mark the boring depth on the drill bit with a piece of masking tape as a gauge.
Mortise out the edge recess to 1/8 inch (3mm) deep using a 1/2 inch (13mm) chisel. Note: Do a test fitting of the PBS1 interior latch bolt assembly to make certain the lock’s edge fin fits snug and flush into the mortise.
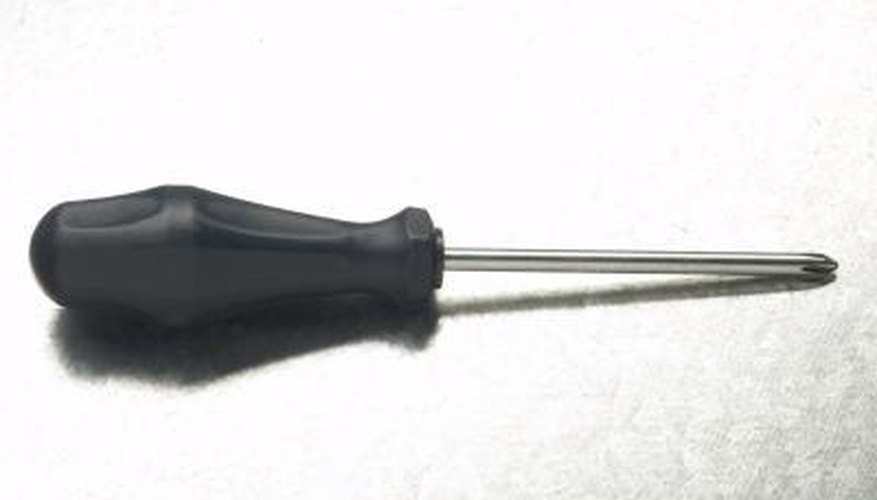
Hold the PBS1 exterior lock body against the exterior surface of the door, with the flat latch connecting bar through the 1 1/4 inch (32mm) diameter centre hole. Secure the lock body with the two bolts provided using a Phillips-head screwdriver and tighten the bolts until snug.
Detach the interior mounting plate from the interior latch by removing the two brass screws in the lock’s face plate just above and beneath the latch bolt. Note: The black neoprene washer beneath the mounting plate should remain in place.
Place the mounting plate detached from the interior latch against the door, aligned with the holes marked with the “Mounting Plate” template, and secure it to the exterior lock body with the two 1 3/4 inch (45mm) connecting screws inserted through the top two holes above in the centre of the mounting plate.
- Mortise out the edge recess to 1/8 inch (3mm) deep using a 1/2 inch (13mm) chisel.
- Place the mounting plate detached from the interior latch against the door, aligned with the holes marked with the “Mounting Plate” template, and secure it to the exterior lock body with the two 1 3/4 inch (45mm) connecting screws inserted through the top two holes above in the centre of the mounting plate.
Hook the interior latch body onto the hook tabs on the metal tabs located at the top of the mounting plate, and press the latch body to the door surface, fitting the edge fin firmly into the mortised recess in the door edge.
- Hook the interior latch body onto the hook tabs on the metal tabs located at the top of the mounting plate, and press the latch body to the door surface, fitting the edge fin firmly into the mortised recess in the door edge.
Secure the interior latch body to the mounting plate by reinstalling the two brass screws you removed previously. Install two 1-inch flathead wood screws through the pre-drilled holes in the edge fin located at the door’s edge.
Extend the lock’s latch and gently close the door to where the latch touches the jamb. Mark the location for the latch jamb cup on the door jamb by scribing the perimeter edge using a utility knife.
Mortise a recess in the jamb to hold the latch cup mounting plate flush with the jamb’s surface (approximately 3/16 inch (5mm) deep). Attach the latch cup to the jamb using the four 1 3/4 inch (45mm) flathead wood screws provided.
TIP
Review the Yale PBS1 templates and parts list provided to identify the references and descriptions used in this project.