The Saitek X52 is a high-end flight-simulator control set for PC computers that allows players to more accurately simulate the experience of flying a plane or helicopter. The joystick of the X52 offers durable controls over a long period of time, with metal parts and screw mountings replacing the plastic and glue of cheaper joysticks. This means it can be disassembled relatively easy to get a look at the joystick's inner workings.
- The Saitek X52 is a high-end flight-simulator control set for PC computers that allows players to more accurately simulate the experience of flying a plane or helicopter.
- The joystick of the X52 offers durable controls over a long period of time, with metal parts and screw mountings replacing the plastic and glue of cheaper joysticks.
Unscrew the four medium-size Allen screws at each corner of the hand guard with the appropriate-size Allen key. Look directly down onto the shaft to see one more small screw at the top of the guard. Remove this with a No. 0 Phillips screwdriver and then lift off the hand guard and place it to the side.
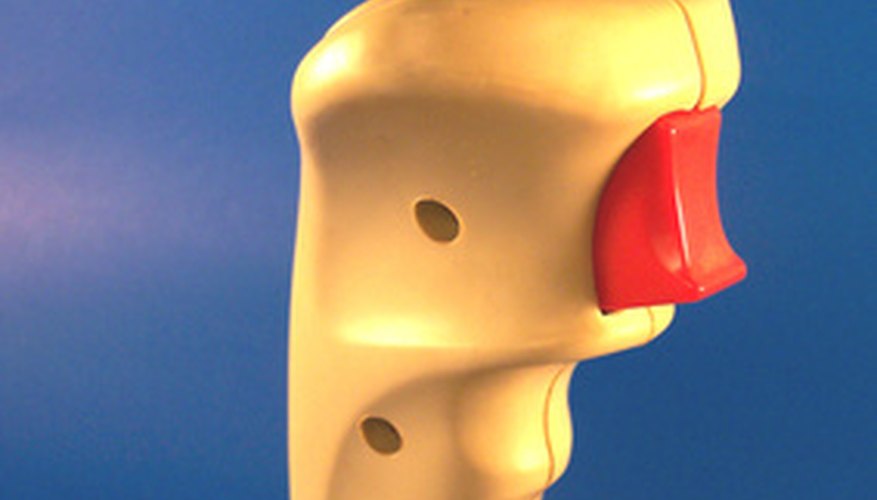
Unscrew the three small Phillips screws underneath the stick's hand rest (the protrusion at the lower end of the shaft that your hand sits on during play) with the small screwdriver. Pry the hand rest away from the body of the stick, taking care not to snap the fine wire connecting the switch beneath the hand rest. This wire can't be removed, so leave the switch attached and push it out of the way if you need to get at the body of the stick.
- Unscrew the three small Phillips screws underneath the stick's hand rest (the protrusion at the lower end of the shaft that your hand sits on during play) with the small screwdriver.
Unscrew the five medium-size screws at the side panel of the stick using the medium (No. 5) Phillips screwdriver. Grasp the stick and push it toward the panel to relieve tension on the springs as you pull the side panel away.
Remove the plastic panel from the rounded knob on the base of the stick to reveal a small screw on the left-hand side. Unscrew this with the No. 0 screwdriver and remove the screw and washer. Pull up on the joystick handle and remove the cover from the base, taking care not to snap any thin wires.
Unscrew the five medium-size screws on the right side of the stick handle using the No. 5 screwdriver, then push the stick down to release spring tension as you pull the right and left sides of the handle away from each other. Remove the handle to complete dissemble the stick.
TIP
If your stick is grinding or sticking in certain directions, removing the knob in Step 4 is a good opportunity to drop a few drops of engine oil into the mechanism at the base, which will improve the stick's smoothness when reassembled.
WARNING
Dissembling the X52 will void your warranty with Saitek. Do not unscrew or remove any part of your stick unless you are comfortable operating or dismantling it without warranty protection.