Wheelie Bins are dustbins equipped with rear wheels that allow for easy transport. If you are planning to paint your Wheelie Bin, consider an important point about adhesion, before you rush into the application process. Wheelie Bins are composed of flexible vinyl. Unlike wood surfaces which are porous, flexible vinyl will shed painted finishes unless it is properly prepared. Condition the Wheelie Bin using the proper prep techniques or flaking will result. Choose a paint specifically engineered for flexible vinyl surfaces or the finish may ultimately crack.
How to paint a wheelie bin

Wash the Wheelie Bin with a water-based cleanser. Rinse the dustbin, using a hose.

Roll the dustbin onto a fabric dust sheet and wait two hours for it to dry.
- Wash the Wheelie Bin with a water-based cleanser.
- Roll the dustbin onto a fabric dust sheet and wait two hours for it to dry.
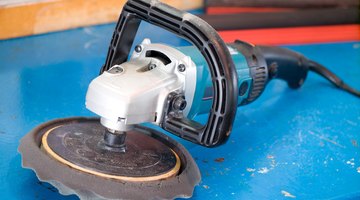
Abrade the Wheelie Bin to promote adhesion. Sand the dustbin until it feels rough.
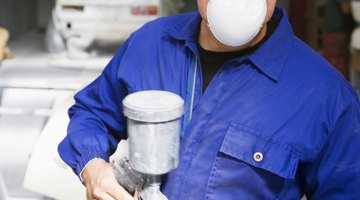
Coat the dustbin with acrylic spray primer. Maintain 20 cm (8 inches) between the Wheelie Bin and spray nozzle as you apply. Allow the flexible vinyl to dry for two hours.
Coat the dustbin with flexible vinyl spray paint. Maintain 20 cm (8 inches) between the Wheelie Bin and spray nozzle as you apply. Allow the flexible vinyl to dry for two hours.
WARNING
Don't use acrylic or latex paint on a Wheelie Bin, or the finish may flake. Never paint unprimed Wheelie Bins, or the paint will peel. If you prime an unabraded Wheelie Bin, the finish may flake. Maintain 20 cm (8 inches) between the Wheelie Bin and spray nozzle, or the finish will sag. Only use primer and paint in a well-ventilated area.