There are a couple of good ways to bend medium density fiberboard (MDF). One is called "Kerf-cutting" and the other is by laminating. For most purposes Kerf-cutting will work better -- it's easier to pull off and less time-consuming. Laminating is the better way to go when you need to form a compound curve.
Kerf-cutting
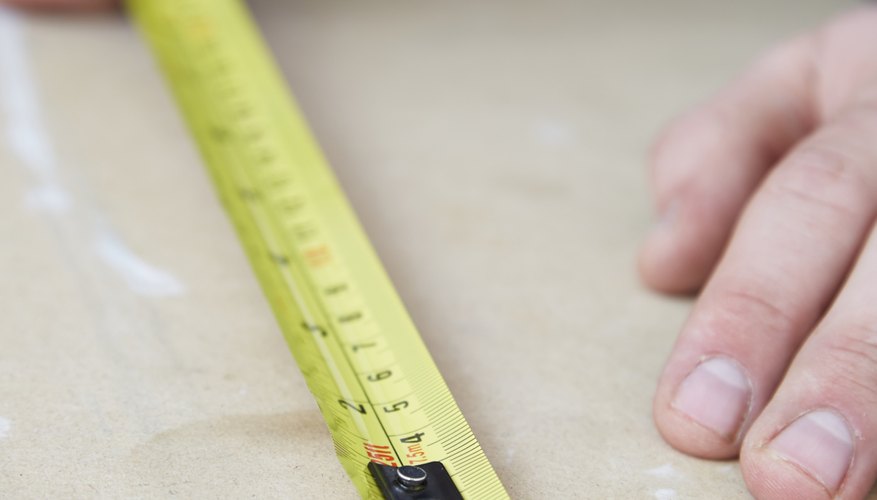
Mark off the section to be curved. For example, you have a 1.8 cm (3/4 inch) thick piece of MDF eight feet in length and you want to make a 30-degree curve over the middle three feet of the product. Line up your work on a table saw with a large support table and set the blade depth to about 1.5 cm (19/32 inch)
Cut into the MDF at 1.8 cm (3/4 inch) intervals on what will be the inside of the curve, making cuts from the left boundary to the right. Cut at 1.2 cm (1/2 inch) intervals for a slightly smoother curve.
Lay the MDF down on a flat surface, kerf-cuts facing up. Put a stop at one end so it doesn't slide around. Lift the other end up and place a board under it.Begin raising the board so that the kerf-cuts begin to close. Stop about halfway to the desired 30-degree curve and repeat the process at the other end.
Flatten the product again. Fill the kerf-cuts with white glue. You can use a stronger polyurethane adhesive, but If you use too much in the kerf, it will expand and straighten out the curve as it dries. Practice on a sample piece of kerfed MDF if you are doing this for the first time.
Re-form the desired bend once the glue is spread evenly through each kerf and either clamp it in place or support the undersides of the two raised ends of the MDF and put weights on the curved section to hold it down as the glue dries.
Compound curves
Use three sheets of 6 mm (1/4 inch) thick MDF to form a laminate rather than a single 1.8 cm (3/4 inch) sheet when you need to form a compound curve, one convex and the other concave.
Improvise jig stops at either end of the first 6 mm (1/4 inch) MDF piece (two gravel-filled packing boxes will do). Mark off both curved areas. Improvise a support under the convex section (a clamped down cardboard construction tube works). Use weights to hold down the centre of the concave section and another support under the MDF at the outside and upper end of the concave section.
Add the second layer and force the two layers together. Then add the third layer. Clamp. If your improvised jig and clamps hold the three layers together well, remove the clamps to prepare for gluing.
Spread construction adhesive evenly across the upper side of your first layer using a notched trowel. Put this first layer back into the jig, adhesive side up, and temporarily hold it in place with clamps.
Force the second layer down onto the first, beginning at the most concave part of the MDF and holding the ends upward and away from the lower glued surface. Work from the centre of concave curve outward and force the second layer down onto the first, unclamping the first layer and re-clamping both layers together as you work.
- Use three sheets of 6 mm (1/4 inch) thick MDF to form a laminate rather than a single 1.8 cm (3/4 inch) sheet when you need to form a compound curve, one convex and the other concave.
- Force the second layer down onto the first, beginning at the most concave part of the MDF and holding the ends upward and away from the lower glued surface.
Repeat the process, adding the third layer of 6 mm (1/4 inch) MDF to the first two.
TIP
Construction adhesive dries slowly. For dramatic compound curves hold the laminate in the jig for several days. Use white glue alternatively as construction-adhesived laminate might "work" slightly when removed from the jig. White-glued laminate will not, but it is somewhat fragile and will need careful handling. Use of polyurethane glue for compound curves is ideal. When the laminate is released from the jig it will hold its shape, and several laminated layers will be strong enough to form a stand-alone architectural element. Polyurethane glue tends to expand as it dries, so use a lot of clamps and sturdy jig elements to hold everything in place. For smaller radius curves in the kerf-cut method, you can substitute a dado blade to cut a 3 mm (1/8 inch) or even 4.5 mm (3/16 inch) wide kerf, but be careful: The MDF will be fragile. A reliable, more tedious solution is to cut kerfs with the carbide table-saw blade at intervals of 9 mm (3/8 inch)or even 6 mm (1/4 inch).
WARNING
Ventilate well and wear a chemical mask when using polyurethane. With table saws, wear safety goggles -- and no gloves: A blade will cut right through hands and gloves, which can catch on the saw and drag your hands into the blade.