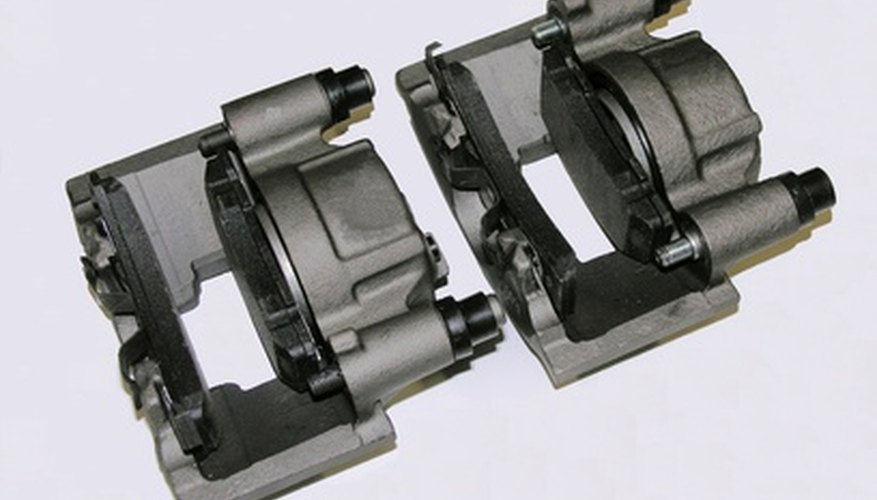
Compressing caliper pistons has been an easy enough task when replacing brake pads and/or rotors. However, the implementation of ABS brakes has somewhat changed the procedure. If the ABS system caliper pistons are compressed in the same manner as non-ABS caliper pistons, dirt, brake dust or other corrosives can be plunged into the hydraulic system, clogging the ABS system. Compressing the caliper pistons correctly adds a minor step to the procedure as long as the caliper bleeder screw opens and doesn't break during the process.
- Compressing caliper pistons has been an easy enough task when replacing brake pads and/or rotors.
- Compressing the caliper pistons correctly adds a minor step to the procedure as long as the caliper bleeder screw opens and doesn't break during the process.
Apply the brake hose clamp or crimp to the hydraulic brake hose as close to the caliper as possible once the vehicle is hoisted and the tire(s) are removed.
Place the drain pan below under the knuckle and rotor assembly, and centre the pan beneath the area of the bleeder screw on the caliper.
Open the bleeder screw with a ratchet and compatible-sized socket by turning it counterclockwise until fluid begins to seep out of the bleeder screw.
Use the C-clamp or quad caliper piston compression tool to compress the piston(s) slowly, allowing fluid to purge from the bleeder screw. While many vehicles allow you to use these devices with the caliper still bolted to the knuckle and caliper anchor assembly, there are some applications that require removing the caliper from the assembly (like many rear calipers that require screwing the caliper pistons in a clockwise fashion with a caliper reset tool kit). If this is the case, remove the caliper bolts prior to resetting the caliper piston.
- Use the C-clamp or quad caliper piston compression tool to compress the piston(s) slowly, allowing fluid to purge from the bleeder screw.
- While many vehicles allow you to use these devices with the caliper still bolted to the knuckle and caliper anchor assembly, there are some applications that require removing the caliper from the assembly (like many rear calipers that require screwing the caliper pistons in a clockwise fashion with a caliper reset tool kit).
Allow the brake fluid to drain from the bleeder screw into the drain pan while compressing the caliper piston until the piston is fully seated in the caliper piston bore.
Tighten the bleeder screw with a box-end wrench when the respective repairs or reassembly procedure is complete.
Top the master cylinder off with the correct graded brake fluid for the vehicle. Most vehicles use DOT3 brake fluid. Replace the master cylinder cover.
Place an assistant in the vehicle to pump the brake pedal four to five times and then hold the brake pedal down.
Open the bleeder screw a half-turn until the air and fluid purge from the screw. Repeat this procedure until the brake pedal no longer drops to the floor and the fluid coming from the bleeder screw is a steady stream without air bubbles. Add more brake fluid to the master cylinder every four to five bleeder screw openings to avoid allowing the master cylinder to empty completely. This can reverse the pressure suction cups in the master cylinder and damage the hydraulic component.
TIP
Every caliper on ABS brakes that has had its piston(s) compressed will need to be bled. Bleeding sequences on most vehicles require you to start bleeding the caliper furthest from the master cylinder (passenger side wheel) and then working your way up to the closest caliper (driver's side wheel) during the sequence, for example, passenger rear, driver's rear, passenger front and then the driver's front. Make sure to research if there's a special bleeding sequence for your specific vehicle prior to bleeding the brake system.