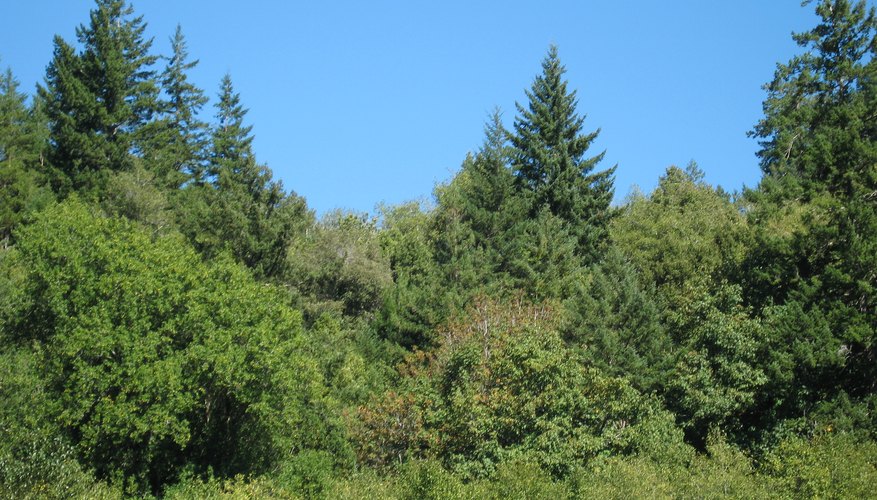
You can turn a kid's room into an outdoor oasis when you paint sky and hills on the wall. The design is fun and timeless. It can enhance the room of a younger tot and still stay cool as he grows older. Painting sky and hills on a kid's wall may seem like a massive undertaking, but it's one that can be completed with several steps.
- You can turn a kid's room into an outdoor oasis when you paint sky and hills on the wall.
- Painting sky and hills on a kid's wall may seem like a massive undertaking, but it's one that can be completed with several steps.
Sketch your design. Draw your outline of the hills and sky on a piece of paper so you get a rough draft of how you want it to look. Include any extras that can be added after the base illustration is created.
Pick your paints. The sky should consist of at least three hues of blue of varying shades. The hills should have at least three varying shades of brown or green. Opt for a soft white if you want to include any clouds and yellow, reds or other flashy colours if you want flower on the hills.
- The sky should consist of at least three hues of blue of varying shades.
- Opt for a soft white if you want to include any clouds and yellow, reds or other flashy colours if you want flower on the hills.
Prepare the wall and surrounding areas. Clean bare walls with a damp sponge. Place drop cloths over the floor and other things in the room on which you don't want paint to drip. Cover baseboards, switch plates and the ceiling border with painters tape. Apply a paint primer on the wall to properly cover any existing colour or artwork.
Draw your outline. Use a pencil or piece of light chalk to reproduce what you've sketched on the page onto the wall. Stand back often to make sure the proportions are correct and the layout is how you want it.
- Use a pencil or piece of light chalk to reproduce what you've sketched on the page onto the wall.
Start with the sky. Use a roller to paint the top portion of the wall the base blue colour. Allow to dry then use the sea sponge to dapple on other blue hues. Go a bit below the top line of the hill so there are no gaps in between the sky and hills.
Add the hills. Use a roller to paint the bottom portion of the wall with the base green colour. Use a brush to apply that same colour to the top outline of the hill. Use painters tape along the top of the hill if you need more precision. Allow to dry then use the sea sponge to dapple on other green or brown hues.
- Use a roller to paint the bottom portion of the wall with the base green colour.
Finish off with any extras. Use the sea sponge to sponge on filmy, white clouds, dapples of coloured flowers and any other contrasting designs. You can also use thin brushes to create more detailed flowers, gnomes, trees, birds, wildlife, stars or anything else you want populating your hills and sky.
TIP
All your paints and supplies, even the sea sponges, can be purchased at home or hardware stores. Pick paints that are all of the same type---semi-gloss or matt. Gloss and semi-gloss are easier to clean for a kid's room. If you want to get really fancy, extend the sky partway onto the ceiling or cover the entire ceiling with sky.
WARNING
Don't add a lot of extras if you intend to hang a lot of artwork on the wall. Otherwise the two may compete for attention.