The Compaq NX9010 is a 2.3 GHz Pentium 4 laptop, originally manufactured as a business laptop. Although it works well for basic computing, the machine may require disassembly if something needs repaired or replaced. Put aside a few hours to complete the whole process so you don't lose any parts and can put everything back as it was originally assembled.
Remove the power cord and all other cords from the laptop. Turn it so that the bottom faces you.
- The Compaq NX9010 is a 2.3 GHz Pentium 4 laptop, originally manufactured as a business laptop.
- Turn it so that the bottom faces you.
Remove the battery, sliding the lever over and pulling it out. This will avoid shorting of any devices.
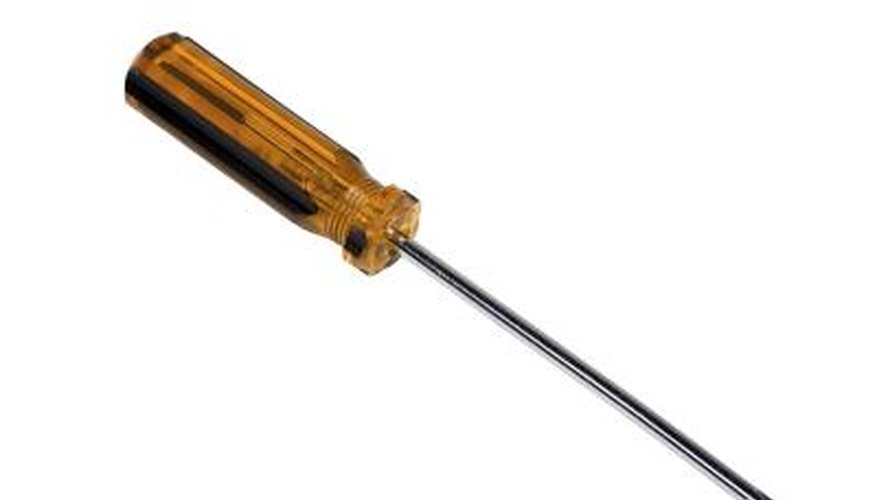
Unscrew the RAM and hard drive plastic covers with a precision Phillips screwdriver. Remove the RAM cover.
Push out the memory slot levers slightly until the RAM pops out at a 45-degree angle. Slide the memory out of the slot.
- Unscrew the RAM and hard drive plastic covers with a precision Phillips screwdriver.
- Push out the memory slot levers slightly until the RAM pops out at a 45-degree angle.
Lift and slide back the hard drive cover toward the side you unscrewed -- this will release the hard drive assembly. Set the hard drive and assembly aside.
Insert the flat blade of a precision screwdriver in a corner of the switch plate and gently pry it up. This is the plate where the On/Off button is located. Expect to feel slight resistance as the plastic tabs pop out.
Unfasten the Phillips screws from the top edge of the keyboard with a precision Phillips screwdriver.
Lift up the top edges until you can reach underneath the keyboard and access the keyboard data cable. Lift the cable connector locking retainer just slightly to unlock the cable. Tug the cable free of the connector. Make sure you unlock the plastic retainer on the connector or you will break the data cable.
- Unfasten the Phillips screws from the top edge of the keyboard with a precision Phillips screwdriver.
- Lift up the top edges until you can reach underneath the keyboard and access the keyboard data cable.
Disconnect the video cable coming from the display assembly. The connector sits above the area where the keyboard was. Press in the connector tab and pull up the plastic connector.
Unscrew the metal hinges that hold the top display assembly to the bottom plastic assembly. Remove the display and set it aside.
- Unscrew the metal hinges that hold the top display assembly to the bottom plastic assembly.
Turn over the computer base again and remove any Phillips screws you see on the bottom base. These hold the motherboard to the base.
Insert the flat blade of a precision screw driver in the plastic seam of the bottom and upper plastic assembly of the base. Pry the top and bottom plastics apart. Expect to meet a slight resistance as the plastic tabs pull apart, but too much resistance is an indication of a screw that is still fastened.
Turn over the bottom assembly so that the front faces you. Remove the top left four screws from the motherboard.
Unfasten the screws holding the DVD/CD assembly to the base. Disconnect the DVD/CD data cable from the motherboard by pulling it horizontally out. Set the assembly aside.
- Turn over the bottom assembly so that the front faces you.
- Unfasten the screws holding the DVD/CD assembly to the base.
Remove the screws that hold the metal processor fan frame to the motherboard. Lift the frame from the motherboard.
Inspect the motherboard to make sure you have removed all the screws. Lift the motherboard from the top edges so it lifts from the plastic bottom assembly.