Fairings on your Kawasaki ZZR600 motorcycle protect and house the radiator, exhaust pipe, engine, gas tank and lights. On occasion, one or more of the fairings has to be removed to work on the bike. Painting or rebuilding the motorcycle requires removing the entire set of fairings from front to rear. You remove the fairings in a special sequence using your metric tools.
- Fairings on your Kawasaki ZZR600 motorcycle protect and house the radiator, exhaust pipe, engine, gas tank and lights.
- On occasion, one or more of the fairings has to be removed to work on the bike.
Park the motorcycle on a rear stand. You can park it on the centre stand and support the underside fully with wood blocks when a rear stand is not available. Allow the engine and exhaust to cool completely.
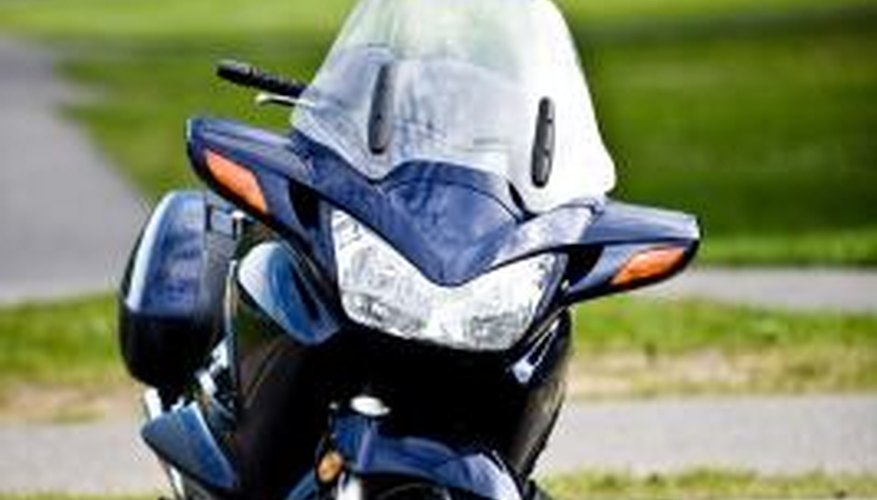
Remove the right and left turn signal lens covers at the front fairing. Remove the stainless steel machine screws that hold the front fairing to the right- and left-side fairings and the steering headset.
Pull the front fairing and windshield assembly away from the forks enough to access the turn signal and headlight electrical connectors. Disconnect each wire connector and set the front fairing aside.
- Remove the right and left turn signal lens covers at the front fairing.
- Pull the front fairing and windshield assembly away from the forks enough to access the turn signal and headlight electrical connectors.
Locate the fairing mounts and bolts at the underside of the motorcycle frame. Reach inside the front edges of each side fairing and locate the fairing mounts and bolts on the front of the motorcycle frame.
Set up a metric socket with an offset adaptor and short extension on your ratchet. Ask an assistant to hold one of the side fairings steady. Remove the bolts at the underside and front of the motorcycle frame on that fairing. Remove the upper bolt from the mount below the gasoline tank.
Ask the assistant to pull the fairing straight away from the motorcycle and set the fairing aside. Ask the assistant to help as you remove the opposite side fairing in the same way.
Loosen and remove the machine screws at each side of the tank fairing. Remove the fairing mount bolts at each side of the upper frame tube. Lift the tank fairing off the motorcycle.
- Ask the assistant to pull the fairing straight away from the motorcycle and set the fairing aside.
- Lift the tank fairing off the motorcycle.
Remove the rider's seat from the motorcycle. Remove the upper and lower tail light lens covers and the number plate.
Remove the stainless steel machine screws at each side of the tail fairing. Ask an assistant to lift the fairing enough to access the upper and lower tail light wire connectors and turn signal wire connectors at the underside of the fairing.
Disconnect the tail light and brake light switch wire connectors. Disconnect the turn signal wire connectors. Take the tail fairing off the motorcycle.
TIP
Become familiar with the fairing and wiring information in the service manual before starting the job, if you have one available.