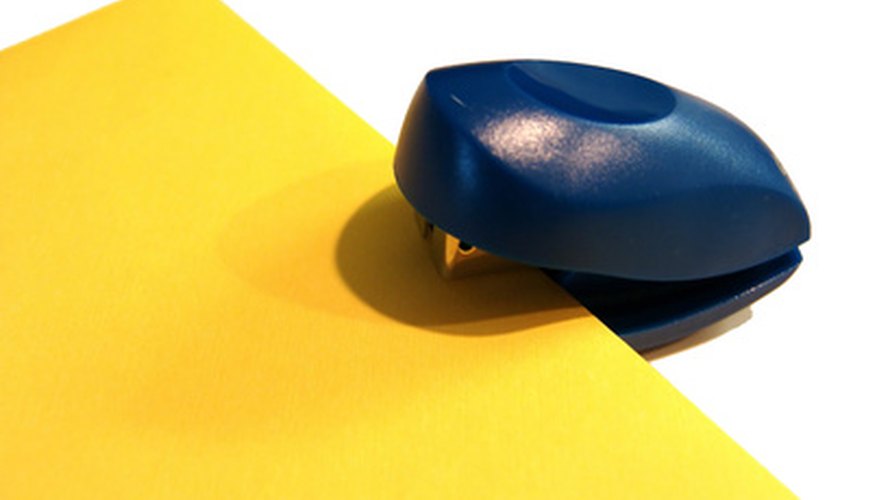
As one of the most iconic office supplies, the Swingline stapler is the classic workhorse of the paper-based bureaucracy. While this simple, effective tool has come in many different styles and models over the years, the basic operation and assembly of these variations are relatively similar. The Swingline stapler can be easily operated by anyone who needs to attach paper together in stacks, mount paper to the wall, or even create a design using metal staples. Putting the pieces of this stapler together may be more difficult but can be accomplished with proper tools.
- As one of the most iconic office supplies, the Swingline stapler is the classic workhorse of the paper-based bureaucracy.
- The Swingline stapler can be easily operated by anyone who needs to attach paper together in stacks, mount paper to the wall, or even create a design using metal staples.
Assemble the pieces of a Swingline stapler by placing them in the normal overlapping staple position and connecting them at their hinges.
Force these pieces together, using the hammer if necessary. If they still do not fit within each other, it is possible to widen the gap using the screwdriver to bend out one side of the hinge just enough to slip in the other half of the stapler.
Attach the rubber feet to the stapler by sliding them over the bottom, or sticking them to the corners of the base, depending on the model of your Swingline stapler.
Open the Swingline stapler for loading by gripping the bottom section and the metal staple magazine in one hand and the top section in the other hand. Pull them apart to view the staple magazine. Pull the top section all the way back to allow full loading of staples, which should be loaded with the prongs facing down. Swing the top section back onto the base until it locks in place.
Open the stapler to allow stapling to the wall by gripping the top section, including the staple magazine, in one hand and the bottom section in the other. Pull them apart, using great force if necessary. The stapler can now be used to staple items on the wall. Close the stapler by swinging to top section onto the bottom section until it clicks.
- Attach the rubber feet to the stapler by sliding them over the bottom, or sticking them to the corners of the base, depending on the model of your Swingline stapler.
- Open the stapler to allow stapling to the wall by gripping the top section, including the staple magazine, in one hand and the bottom section in the other.
Swivel the staple foot to allow stapling of larger stacks of paper. Press up on the staple foot through the button on the bottom of the stapler until the staple foot rises above the surface of the stapler. Rotate the staple foot by rotating the button on the bottom of the stapler, then lower the button to settle the staple foot back in place. The staple foot must be rotated 180 degrees each time or it will not settle correctly in place.
TIP
Different models of staplers may have additional levers or options, but the operations should be very similar. Some smaller staplers will not have a staple foot, but almost all Swingline models allow complete opening of the stapler. A drop of machine oil on the hinges and spring of a stapler once a year may be necessary for maximum longevity and performance.
WARNING
Be very careful not to catch your finger in the stapler during operation or during the closing of the stapler. The force behind a stapler can be enough to penetrate skin or fingernails. Never allow the interior of your stapler to become wet. Dry the stapler thoroughly if necessary, inside and out. Never strike a wall with a stapler in a hammering motion to mount a piece of paper. This can cause damage to the wall, the paper and the stapler. It can also cause the stapler to bounce back and strike the user, potentially causing injury.