You can use a nine-pointed star to represent a sun in your drawings and paintings. While the task of drawing a nine point star might seem daunting, it is actually just three triangles laid over each other in the correct manner. Once they are laid on top of each other you can choose to erase the lines in the middle of the star, or leave them for visual effect. If you are going to draw multiple nine-pointed stars it might behove you to make a template of a triangle to make the process faster.
- You can use a nine-pointed star to represent a sun in your drawings and paintings.
- If you are going to draw multiple nine-pointed stars it might behove you to make a template of a triangle to make the process faster.
Select the location on the paper where you would like to draw your first triangle. Remember that you will be placing three triangles on this location, so you want to select a place that is not too close to the edge, leaving you room to work.
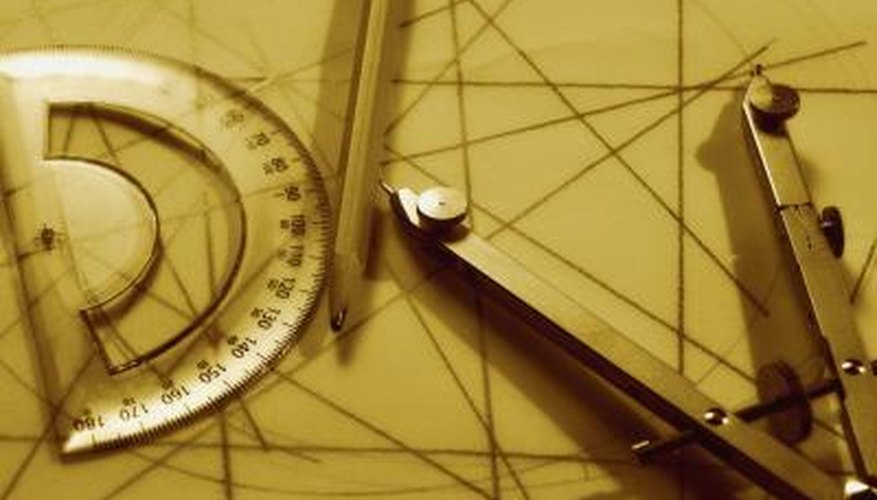
Align your protractor so you notice the 60 degree mark. Place a small dot on either side of the protractor. These two dots will allow you to use your ruler to draw a straight line. You are using a 60 degree angle because you need three equilateral triangles in order to make the nine-pointed star.
Draw your first line using the two dots as guidelines.
- Draw your first line using the two dots as guidelines.
Reorient your protractor so that the end of the line is intersecting with the base or "0" degree line of your protractor. Again mark the 60 angle in two points. Remove the protractor and draw the line using the two dots as your guide. You know have a "V' shape at 60 degrees.
Close the remaining side of the triangle. Because the triangle is already made up of 120 degrees, the third angle does not have to be measured.
Reorient your protractor. Unlike a six-pointed star where you can simply lay two triangles over each other, you need to make room for the third triangle and thus three additional points. Move one-third the way down any line on your first triangle and place the protractor in that place, so the "0" line is intersected by it.
Measure the 60 degree angle and place two dots on either side of the protractor. Connect the dots. You should not have four lines on the page.
Reorient your protractor on the either end of the fourth line so that the "0" line is intersecting. Again measure a 60 degree angle, place two dots and connect the line.
- Unlike a six-pointed star where you can simply lay two triangles over each other, you need to make room for the third triangle and thus three additional points.
- Reorient your protractor on the either end of the fourth line so that the "0" line is intersecting.
Complete the second triangle by drawing the third line. You will now have two triangles over each other that are slightly askew.
Reorient your protractor. You will notice that there are two sides of the drawing that have a wide "V" shape. They do not have a point through them. Place the protractor in either of those two spots.
Mark two points at 60 degrees. Again place two dots on either side of the protractor. Connect that line, You now have two triangles and one line on the paper.
- Complete the second triangle by drawing the third line.
- Connect that line, You now have two triangles and one line on the paper.
Reorient your protractor. At either end of the last line you drew, place your protractor so that it intersects with that line. Again mark two dots at 60 degrees, remove the protractor, and complete the line.
Close the last triangle. You will now have a nine-pointed star. If you wish to remove the lines, simply erase all of the interior markings to complete your star.