You can digitise your Polaroid pictures and save them on your computer by using a scanner. Scanners typically accept photos or documents up to a standard 8.5-by-11-inch sheet of paper, and many come bundled with software that automates the process. Once your photos are on the computer, you can share them with others via e-mail or social networking sites, use them as desktop wallpaper, or put them onto blank optical discs for printing or archiving.
- You can digitise your Polaroid pictures and save them on your computer by using a scanner.
- Once your photos are on the computer, you can share them with others via e-mail or social networking sites, use them as desktop wallpaper, or put them onto blank optical discs for printing or archiving.
Power down the computer by clicking "Start" and then "Shut Down."
Connect the scanner to the computer and to a power source, if one is required. Power on the scanner if it has a power button.
Power the computer on. Log in to the operating system normally and follow any on-screen prompts to allow the operating system to automatically load the hardware device drives required for the scanner, if prompted.
Insert the disc that came with the scanner if this is the first time you are installing it. Select the automatic installation option and follow all prompts on the screen until the scanner software has been installed. Restart the computer if prompted to do so by the software.
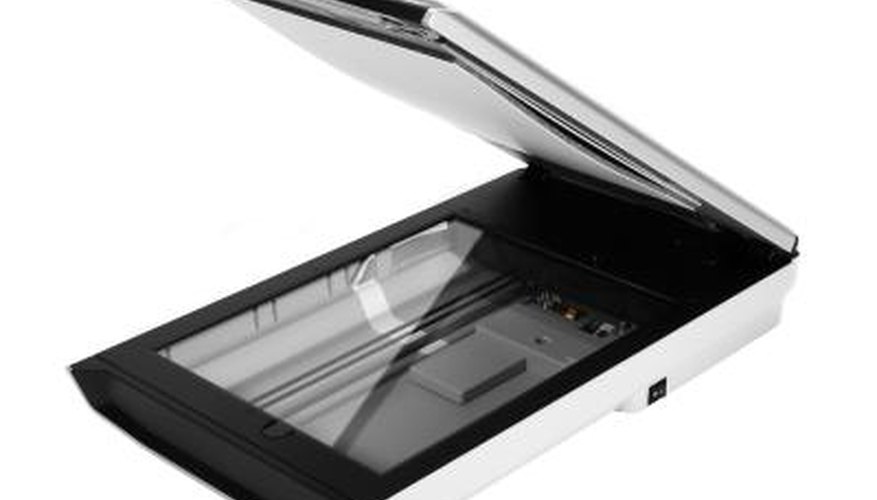
Open the lid of the scanner. Place a Polaroid picture facedown on the glass and close the lid.
Press the button on the scanner that is designated to "Scan" the photo to a file. Refer to the user manual or the manufacturer's website for details on a particular brand and model.
- Insert the disc that came with the scanner if this is the first time you are installing it.
- Press the button on the scanner that is designated to "Scan" the photo to a file.
Name the file with a useful name that will be easy to sort and will remind you of the subject of the photo. Allow the scanner a few seconds to complete the scanning cycle and come to a rest.
Remove the photo and replace it with the next photo to be scanned. Press the "Scan" button again and repeat for additional photos.
TIP
Adjust the configuration settings of the scanner to set a higher resolution or to change various other settings. The available options vary greatly from one model to another, so refer to the user's manual or manufacturer's website for details.
WARNING
Never open the cover while a scan is being performed as it can ruin the resulting image. Scanned photos can take up significant space on a hard drive, depending on the resolution and other settings.