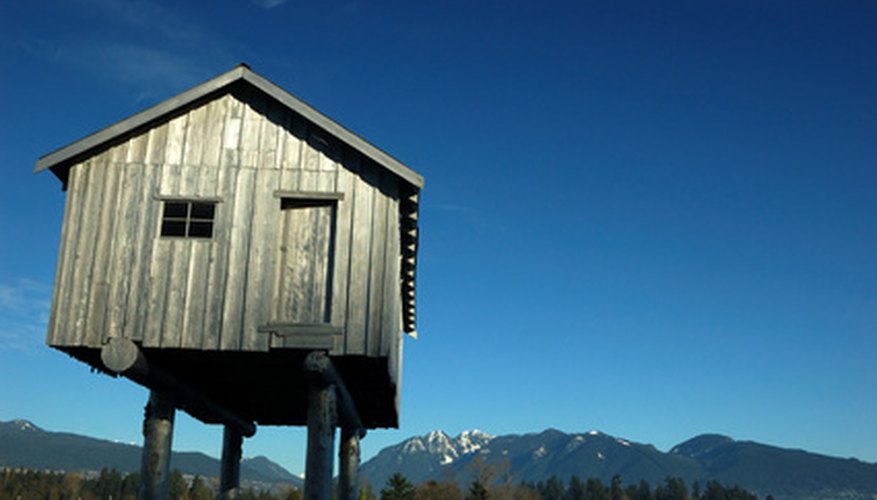
When building a shed in a flood-prone area, you'll need to put it up on stilts in order to keep your belongings out of the water. You can install stilts on a standard shed, but you will have to perform some basic carpentry and masonry techniques in order to finish the job. You will also need to construct stairs in order to get in and out of the new raised shed.
- When building a shed in a flood-prone area, you'll need to put it up on stilts in order to keep your belongings out of the water.
Clear a flat, level area where you want the shed to be constructed. Mark the four corners of the shed on the ground. This will serve as your placement location for the wood pilings. If the shed is larger than a standard garden shed, you need to install another piling in the centre, as well.
Dig holes in the four corners where the pilings are located. The holes should be slightly larger than the diameter of the pilings, and approximately 2 to 3 feet deep. Line the bottom of the posts with river rock and cement them in place, making sure they are level.
Cut the tops of all pilings so that they are the appropriate distance from the ground and level with the tops of each other. This is a critical step, since the floor of the shed must be completely level.
- Dig holes in the four corners where the pilings are located.
- Cut the tops of all pilings so that they are the appropriate distance from the ground and level with the tops of each other.
Attach the base platform of the shed to the tops of the pilings using lag screws. Use a minimum of two lag screws per post to provide a solid foundation for the rest of the shed.
Complete the rest of the shed by installing the walls on top of the base platform. If the height of the new shed is more than 24 inches from the ground, you will need to create stairs using 2-by-12 foot treated lumber.