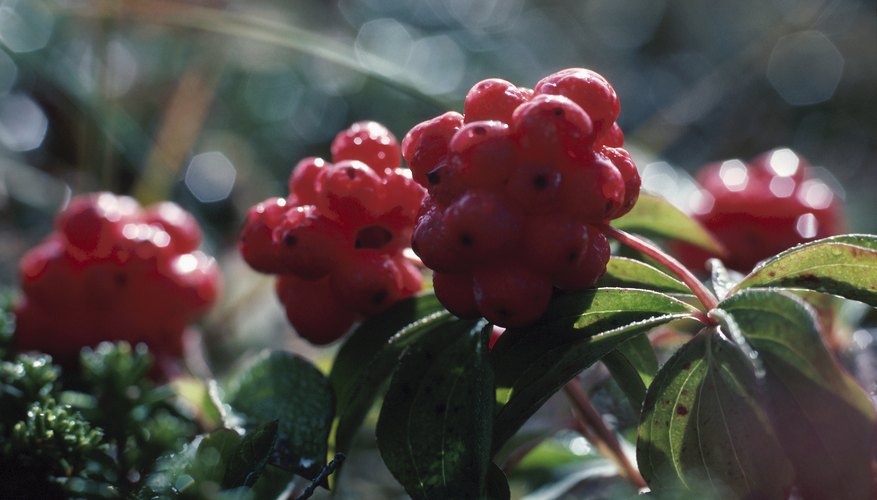
For most of us, Sambucus nigra is more commonly known as the elderberry bush and favoured for the juices, teas, wines and delicious desserts made from the bush's tart berries. Elderberry bushes are easy to propagate by softwood cuttings. Start in midsummer and in a few months, you'll have elderberry bushes ready to plant the following spring. Keep in mind that it will be three or four years before the bushes are in full production.
- For most of us, Sambucus nigra is more commonly known as the elderberry bush and favoured for the juices, teas, wines and delicious desserts made from the bush's tart berries.
- Keep in mind that it will be three or four years before the bushes are in full production.
Use a sharp knife or a razor blaze to cut several 10 to 15 cm (4 to 6 inch) stems from a healthy, mature elderberry bush. Be sure each stem has at least three sets of leaves.
Fill a large planting container with a mixture of half peat moss and half commercial potting soil. Any container, including a one-pound coffee can, will work as long as it has holes in the bottom for drainage.
Strip the lower leaves from the elderberry stem cuttings, leaving the upper leaves intact. Dip the cut ends of the stem cuttings in powdered rooting hormone then tap the cuttings to shake off the excess.
Make several holes in the potting mixture with the eraser end of a pencil and plant the elderberry stem cuttings in the holes with the leaves above the soil. It's a good idea to plant several stems in the same container because they will share the hormones in the soil. However, the leaves shouldn't be touching. Cutting the remaining leaves in half horizontally will conserve moisture and will take up less room in the planting container. Use scissors to snip off the leaf tips.
- Strip the lower leaves from the elderberry stem cuttings, leaving the upper leaves intact.
- Cutting the remaining leaves in half horizontally will conserve moisture and will take up less room in the planting container.
Set the container in a pan of lukewarm water and leave it until the soil is damp. Remove the container from the water and put it in a large, milky white plastic bag, then seal the bag securely with a twist tie. Plastic shopping bags or small garbage bags will work. Install a couple of stakes or a piece of bent wire into the container to keep the plastic away from the potting mixture and the leaves.
- Set the container in a pan of lukewarm water and leave it until the soil is damp.
Put the elderberry cuttings in a warm place where they will be exposed to bright but indirect light. Don't put them in direct sunlight, or in a window, because the plastic will store the heat and can burn the cuttings.
Check the elderberry cuttings every few days to be sure the potting mixture hasn't dried out. If it has, mist it lightly. The potting mixture should be just slightly damp, because the cuttings will be prone to rot if they're exposed to too much moisture.
Leave the elderberry cuttings in the plastic until they take root, which should take 3 to 6 weeks. To be sure the cuttings have rooted, carefully dig one cutting out of the soil with a spoon and take a look, then replant it. When the cuttings are at least an inch long, remove the cuttings from the plastic bag and plant each one in an individual 10 cm (4 inch) pot.
Put the elderberry cuttings in bright light and continue to keep the soil damp. Plant the cuttings in their permanent outdoor home the following spring. If you live in a cold winter climate, consider planting the elderberry cuttings in a protected place in your garden, then move them to their permanent homes when they're two or three years old.