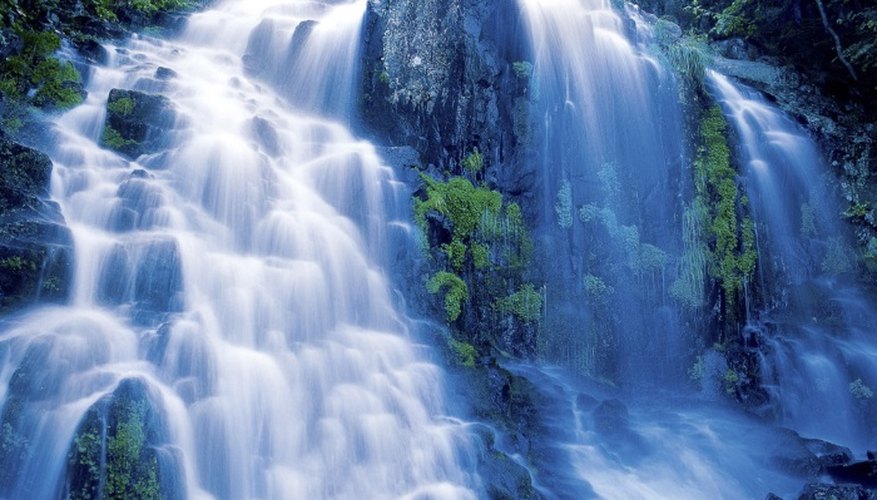
Creating a paper waterfall is a suitable basic craft for kids and one which is an appropriate follow-up activity to an afternoon spent outside in nature or on a field trip visiting a real waterfall. It's also a useful post-discussion activity for students on the geological causes and effects of waterfalls. It's also perfect for someone who simply likes waterfalls. Through the craft, you can express if you find waterfalls to be a more chaotic or more peaceful natural phenomenon. When finished, you can keep your homemade waterfall or even write a personal message on it and give it away as an alternative greeting card.
- Creating a paper waterfall is a suitable basic craft for kids and one which is an appropriate follow-up activity to an afternoon spent outside in nature or on a field trip visiting a real waterfall.
- Through the craft, you can express if you find waterfalls to be a more chaotic or more peaceful natural phenomenon.
Draw the back wall of the waterfall and the surrounding rocks. This will force you to be highly imaginative and picture what the bedrock looks like without water flowing over it.
Cut strips of blue and white construction paper that are as long as the paper on which you'll drew your waterfall. Make these strips of paper of varying widths from 2.5 to 5 cm (1 inch to 2 inches).
- Cut strips of blue and white construction paper that are as long as the paper on which you'll drew your waterfall.
Scrunch up your paper strips in your hand. This will give them an effect of moving water when your waterfall is finished.
Glue one end of your strips to the top of your bedrock at the point where you want the waterfall to begin. You can layer your strips to create a thick but narrow stream of water or create a massive and wide wall of streaming water. It all depends on what you'd like to create.
TIP
Just glue the very tip of each strip to the top of the waterfall, not the entire piece of paper. By just gluing the top of the strip, it gives your waterfall an almost three-dimensional effect.